
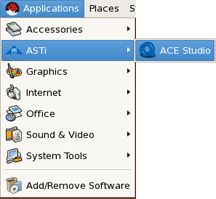
On the Studio Development Workstation desktop navigate to Applications > ASTi and select Studio to open the Project Manager.
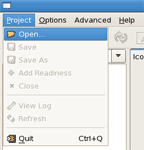
Select Project > Open.
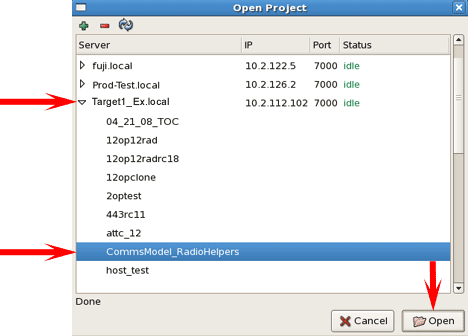
Select the “Open” button to open your Project.
Next to “Name” type the name of your Telestra server and next to “Identifier” select the Telestra server name from the “....” drop down list. This assigns it to the Project and models.
In the top left tool bar navigate to “Install Layout,” select the icon to install the default Project.
Note: Installation time may vary depending on the size of the model.
Return to the Telestra web interface System > Status page and the Project name should appear on the screen. You may have to refresh your browser for the name to appear.
Note: You may also need to set up your Host IP address, setup DIS and assign ACENet audio devices to the model.
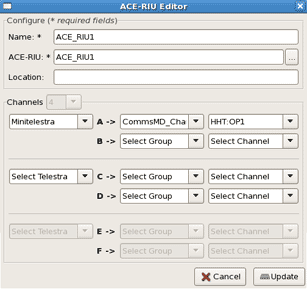
In the ACE-RIU Editor, select the Telestra name, Group and Channel.
